Glynn Visual Arts presents Heroes and Patriots in Silhouette in support of the Coastal Georgia Historical Society’s America 250 Celebration: Revolution on the Coast. Silhouettes were a popular portraiture art form in 1776 and they are still in use today!
Scroll down to learn how to make a silhouette and a pantograph and have some fun celebrating America’s 250!
Silhouettes: A Popular Revolutionary Art Form
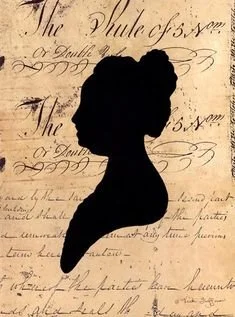
At the time of the American Revolution (1775 - 1783), photography was not yet invented. Traditional painted portraiture was expensive and not readily available to the common man. At the same time, the desire to have images of loved ones, such as a soldier leaving home, was building. People also wanted to see and display likenesses of patriots and heroes of the Revolution. Silhouettes gained in popularity and use.
Shadow Portraits Become Silhouettes

Shadow portraits developed in Europe in the 18th century as an alternative to costly and time consuming traditional portrait paintings. People first referred to this art form as “shades, likenesses, and portrait profiles,” which is an accurate description if not particularly memorable.
The term silhouette was adopted from a man, Etienne de Silhouette, who, as the French Finance Minister during the Seven Years War (1754 - 1763) imposed severe economic demands (taxes) on the estates and pensions of nobles to rebuild the treasury. He was known to cutting “shades”of popular leaders as a hobby. A robust campaign to discredit him ensued and soon Silhouette came to mean anything cheap, simple, or austere.
Perhaps Etienne enjoys the last laugh? Silhouette has stood the test of time as a name for this enduring art form.
The Making of the Poor Man’s Portrait
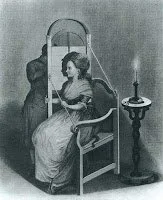
Silhouettes became known as the poor man’s portrait. Using very basic equipment and black or black-coated paper, an accurate likeness could be created. The most common way to make a silhouette during the late 18th century was to capture the sitter’s profile in a shadow projection, then trace the image to white paper and use a pantograph to rescale the image to a smaller size. The resulting image on white paper was overlayed on black paper (or painted paper) and the final silhouette could be cut.
Another, more difficult process is to cut a contour of the sitter’s face in one continuous motion. The creator must visualize the subject’s face as an outline then use eye-hand coordination and accurate cutting skills to attain the likeness. This method usually requires much practice or a trained artist to master.
Materials:
Flashlight
Black Construction Paper
Tape
White Pencil
Scissors
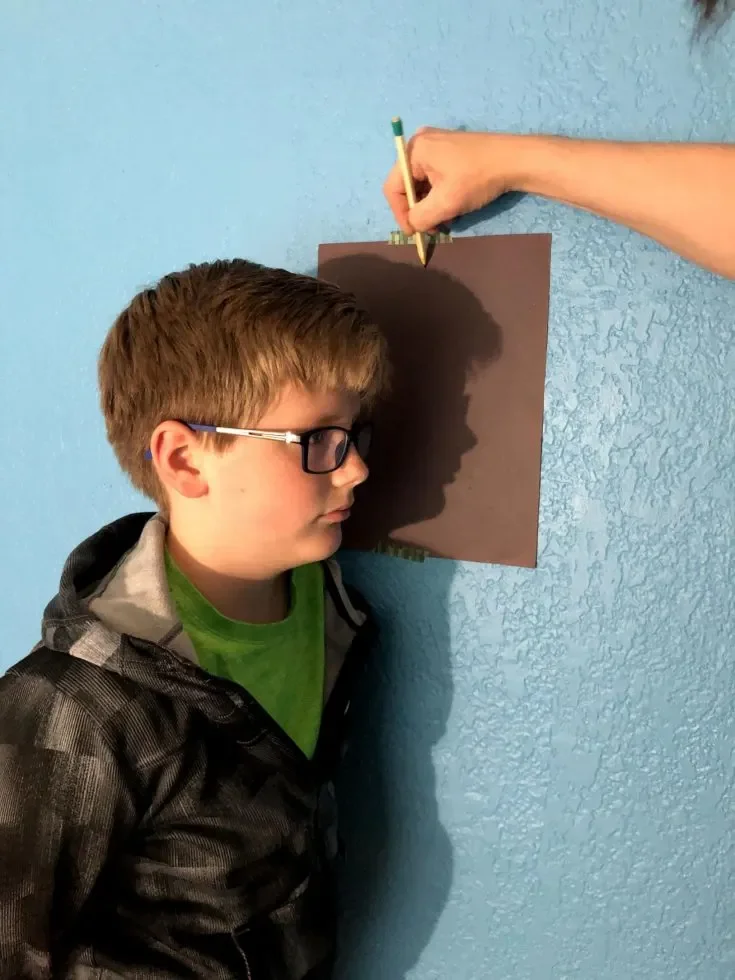
Directions:
Hang the black construction paper with tape to a flat wall.
Have your model stand next to the wall facing sideways.
Shine the flashlight directly onto your model and the wall.
Use the white pencil to trace around the shape of your model onto the black construction paper.
Remove the construction paper from the wall and cut out your silhouette.
Mount on your paper of choice!
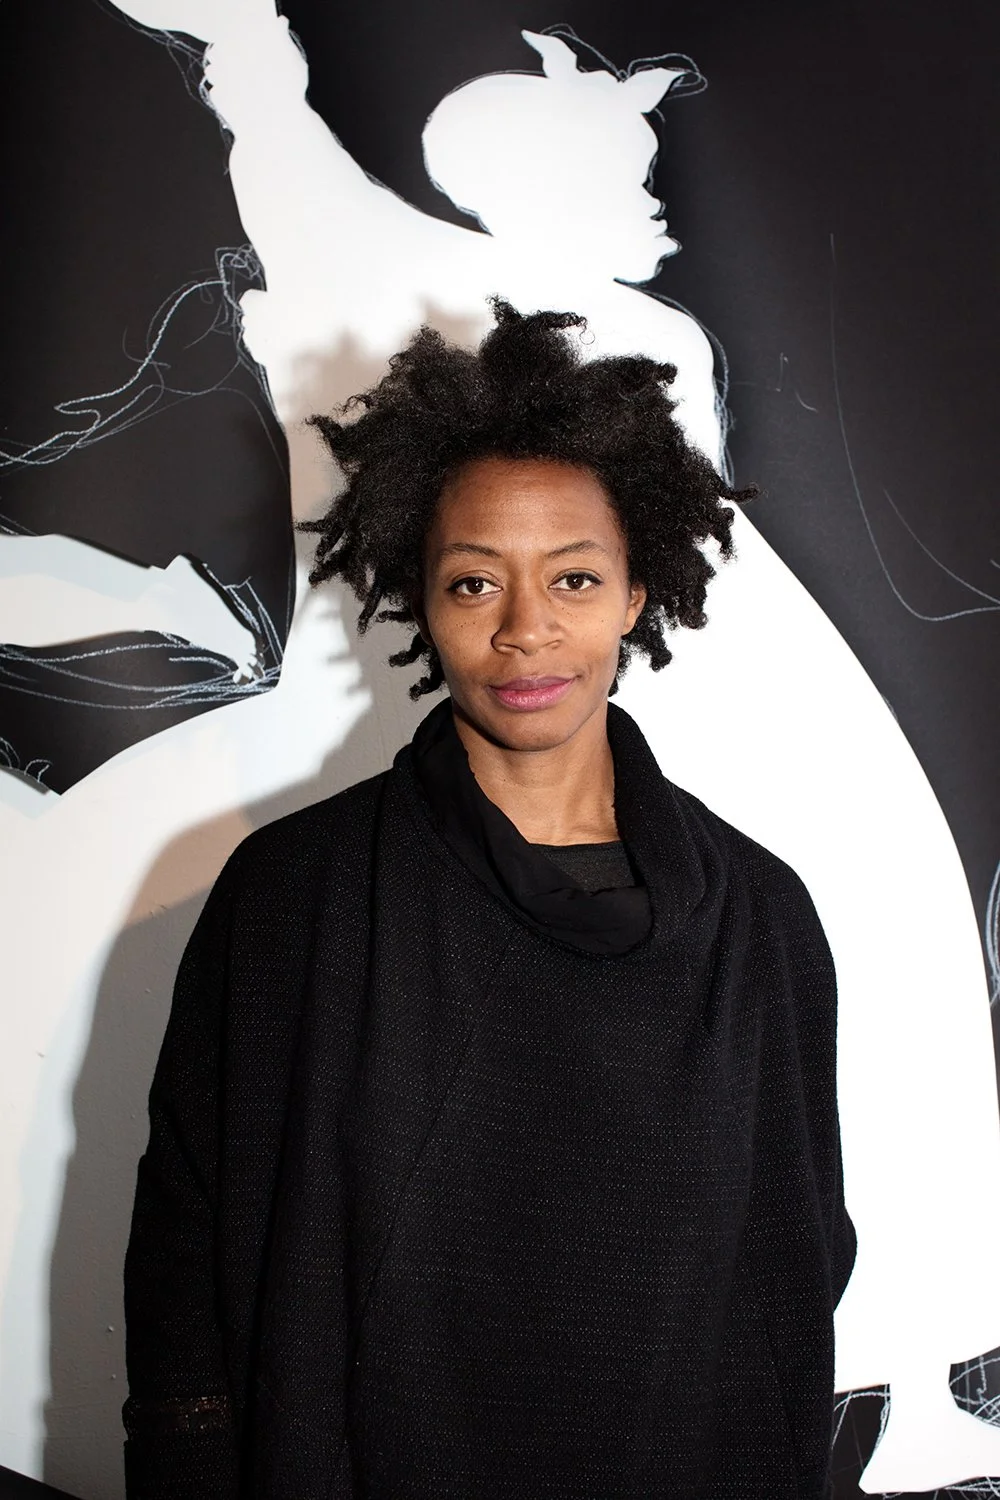
Looking for inspiration? Check out acclaimed contemporary artist Kara Walker who transforms silhouettes into edgy, powerful art. KaraWalkerStudio.com
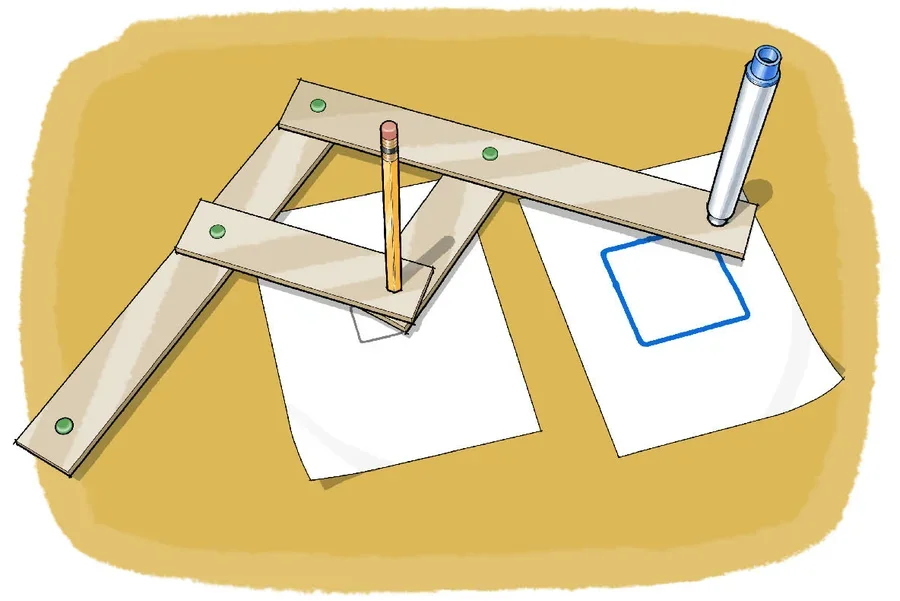
The pantograph is a drawing instrument used to enlarge and reduce drawings or figures. When making a silhouette, a large shadow portrait is replicated exactly as a much smaller image using the pantograph. Scroll down to learn how to make your own!
Fun Fact: The pantograph was devised by the Jesuit astronomer and mathematician Christoph Scheiner in 1603 and described by him in a 1631 publication. Scheiner’s instrument was of wood. Pantographs were soon made elsewhere in Europe of brass. French makers also introduced ebony forms of the instrument. (Smithsonian Institute)
Ready to make your own pantograph? Check out this video by The Dad Lab, then download The Royal Mint Museum’s Pantograph template, gather your materials and get to creating!